Today I tried to come up with a style for the background of my animation. Drawing backgrounds has always been one of my weaknesses as I prefer character animation. I knew what I wanted to put in my background (river, caves, trees etc) but I always struggled with protraying them in a way that would compliment my character design.
This time I tried a different technique, I started by collecting a series of photographs from the internet that featured the locations I wanted to use in my film. I then selected one of them that I felt had the same 'feel' I was looking for.
This photo was then imported to photoshop and a single layer filled white was placed on top with the opacity turned down so that the image was now a translucent white canvas. Then, using the brush tool, I coloured over the various areas with mid-tones. By colouring over with the opacity turned down it allowed me to focus on the different tones and concentrate on the feel of the peice whilst still maintaining elements of realism.
After all of the areas were coloured and shaded I used a number of different brush styles to outline the important areas of the photograph and pick out details. By doing this, I was able to tranfer my own style to the image and add or remove elements to improve the composition.
Once all the relevent details were outlined I fine tuned the opacity of each layer so that the colours, shadows and highlights matched the feeling I was trying to portray. I then saved this file as a .JPG
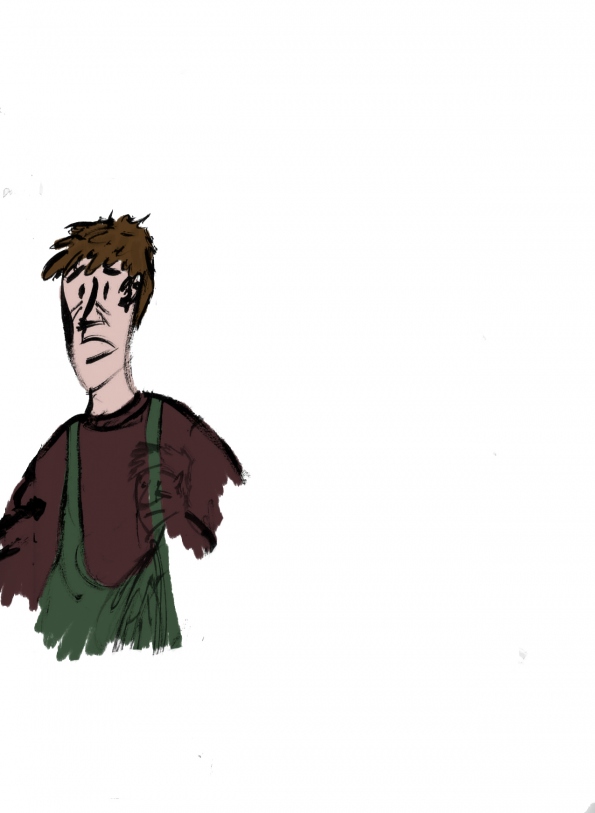
I then took this image and converted it to grayscale. The black and white version of the image was then placed on a layer above the colour original, I then turned down the opacity of the black and white layer until the colours started to come through. Using this technique I was able to alter the mood and feel of the image to match the story and themes of my film. The main character was then placed in the frame to give an idea of the final aesthetic of the film.
By using this technique I was able to maintain a sense of realism whilst at the same time enabling me to construct the image at will by adding or subtracting elements. This technique lets me imprint my own illustrative style and saves a lot of time compared to working from scratch. whilst some may consider this as 'cheating', in my opinion, as long as I still view each frame as a constructed image, as long as I do not comprimise and as long as the images are my own it may still be considered legitimate.
I have done some research and found some cave networks within driving distance from the studio, this will allow me to visit and take photographs almost exactly matching my storyboard that I can use as the basis of backgrounds for my film.